Preparing an image with Pixlr
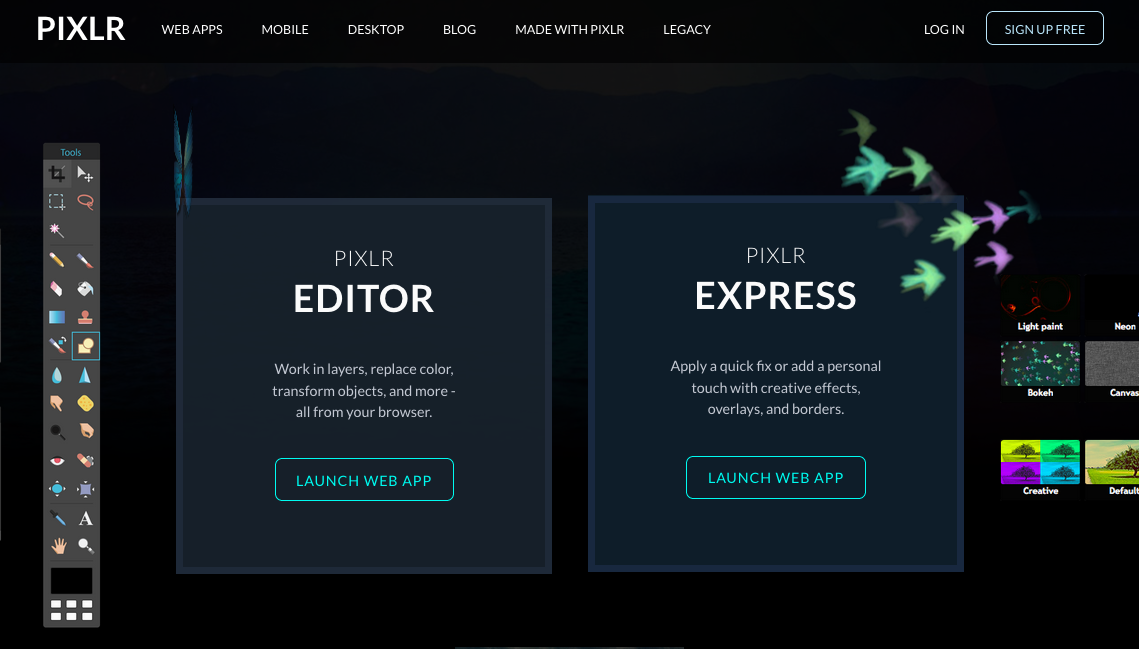
Pixlr is a free online application which has many features available for image editing and manipulation.
To access the editor go to http://www.pixlr.com/ scroll down and click LAUNCH WEB APP for the "Pixlr Editor".
To resize an image from this screen follow the steps below:
Step 1
Select OPEN IMAGE FROM COMPUTER and find and select the image you need to prepare. Click "Open".
This will upload the image to the Pixlr editor and then open it. The time it takes to upload the image will vary depending on the file size and the speed of your internet connection.
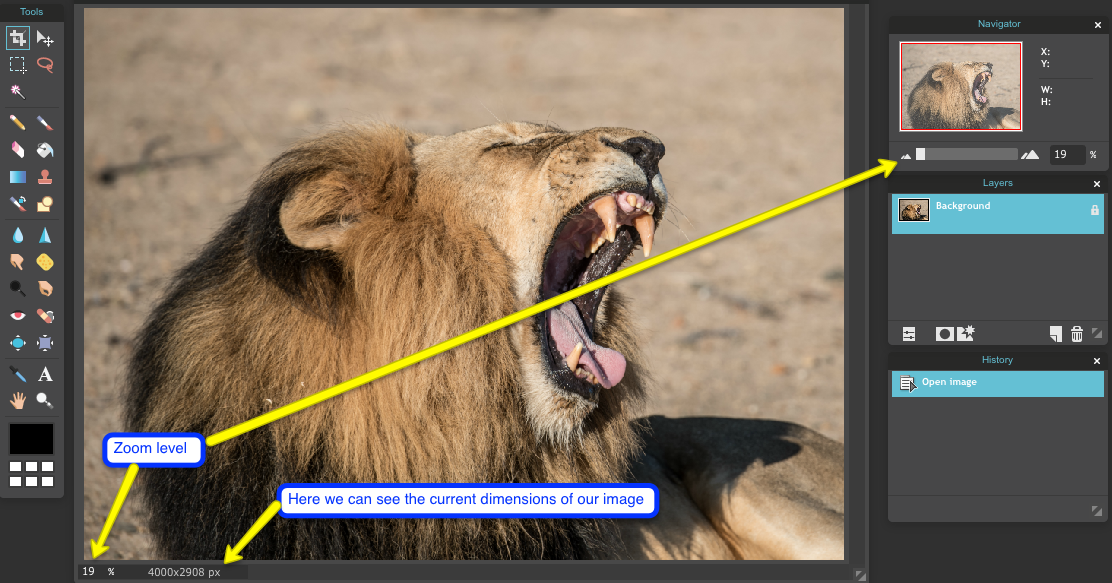
Step 2
Let's assume we want to resize this image to 300 x 300 pixels. This means we want to turn our rectangular image into a perfect square, as well as reduce its size.
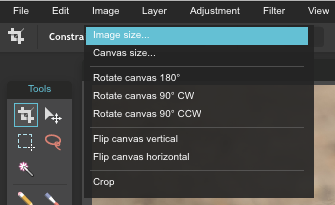
- Select "Image" at the top to view the sub menu options
- Select "Image Size"
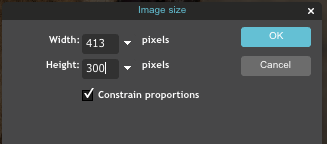
- In the pop up box, ensure Constrain proportions is ticked so that changes here don't deform your image and it maintains proper proportions.
- Look for the smaller dimension. In this example, the image is wide, so the height is the smaller dimension.
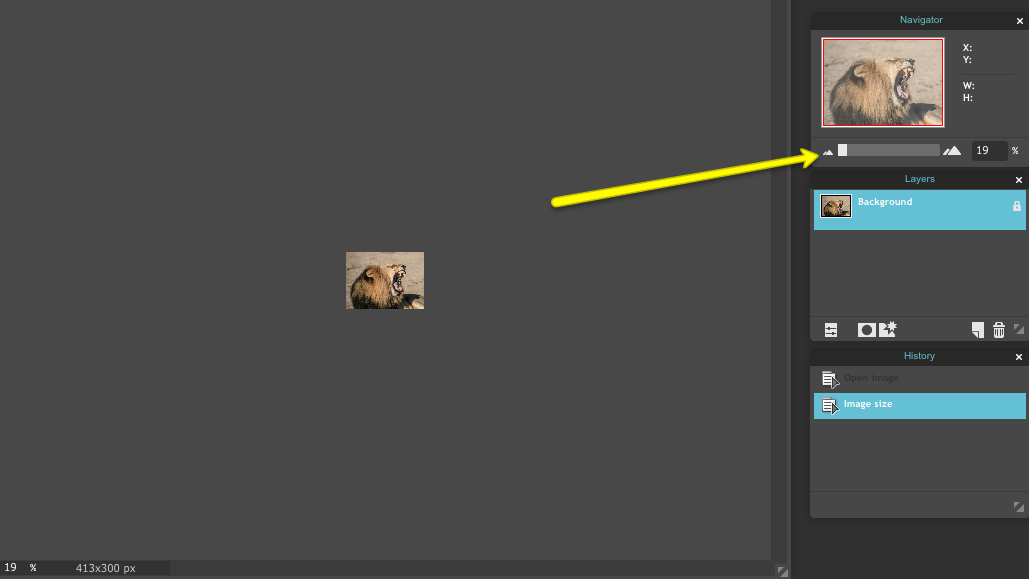
- Edit the smaller dimension to your desired size (300 in this example) and the Width will alter accordingly. Click OK.
- The image may now be very small on your screen. Zoom in if needed using View > Zoom in, or the right hand zoom slider (or shortcut keys)
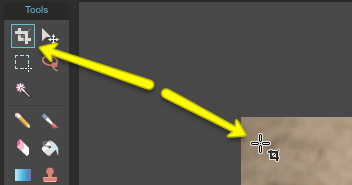
- Time to Crop the image to make it the square shape we need. Hit 'C' on your keyboard, or find the crop tool in the toolbar to select the Crop Tool.
Hover over the image and you'll see your cursor shows you're in Crop mode.
- Now you can manually drag across the image to form a box. Let go and you can adjust the box size, using the pixel guide on the right in the "Navigator" window. Here I've almost got the size I want and need to make the box even less wide to get to my 300 x 300 size.
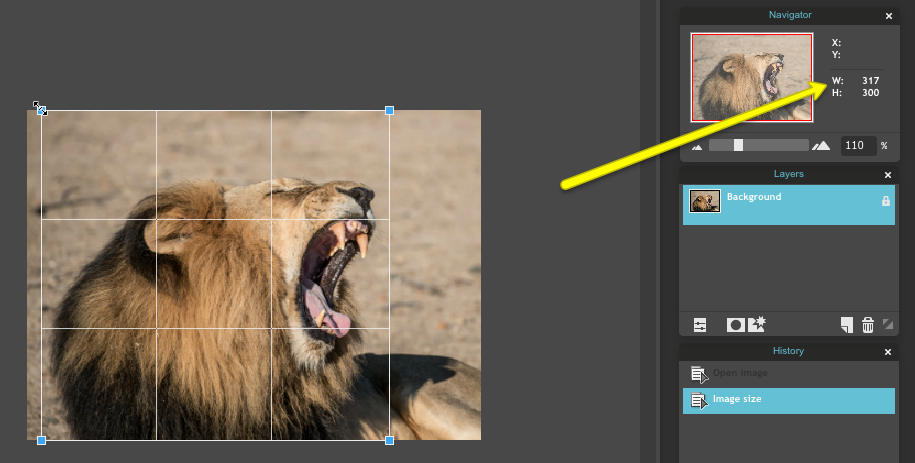
Once you're happy, hit Enter on your keyboard and the image will be cropped to your box. (If you do this and don't like it, you can undo and try again.)
Step 3
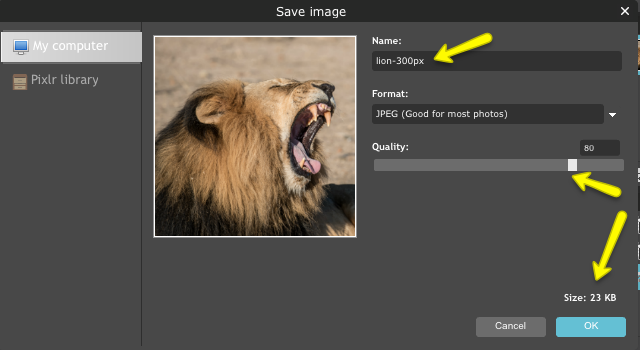
- Now that the image has been resized, we need to save it. Go to the "File" menu and select "Save".
- A popup will open called "Save image". The format is set to "Jpeg" by default, you can leave this setting unless you need to use "Png" format. The "Quality" is set to 80 by default, if you lower the quality the file size (visible in the bottom right of the window) will be less but the image quality will not be as good. You can safely set the "Quality" to 75 to make the image size a bit smaller and still have good quality. After entering a sensible name for the file, click "OK".
- Save it to your computer.
Finished!
Now that the resized image is on your computer you can upload it to your website! To view a guide on inserting an image via the WYSIWYG editor please refer to Adding an Image to a Web Page.
This may seem a long process the first time, but you only have to do it a few times before you'll be able to process each image in under a minute.