Objective
Insert an image onto one of your web pages using the WYSIWYG editor in Mintox.
Steps
-
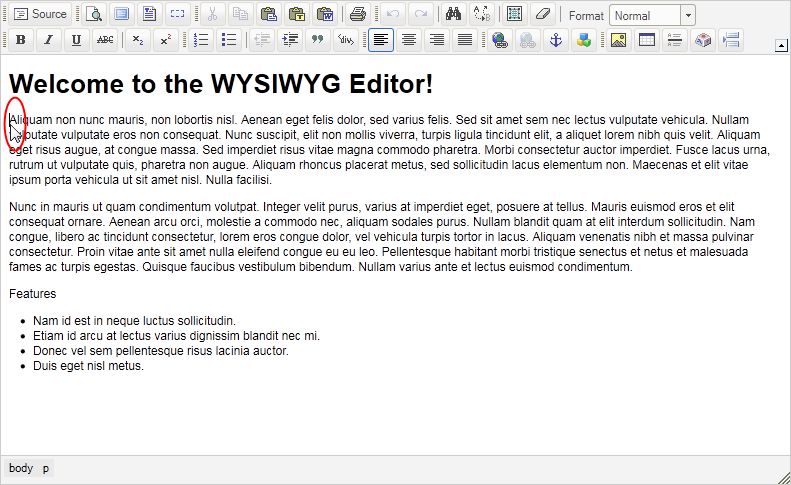
To add an image using the WYSIWYG editor the first thing you need to do is place your cursor where you wanted the image to be inserted. In this example we want the image to be placed inline with the first paragraph, so I place my cursor at the beginning of that paragraph.
-
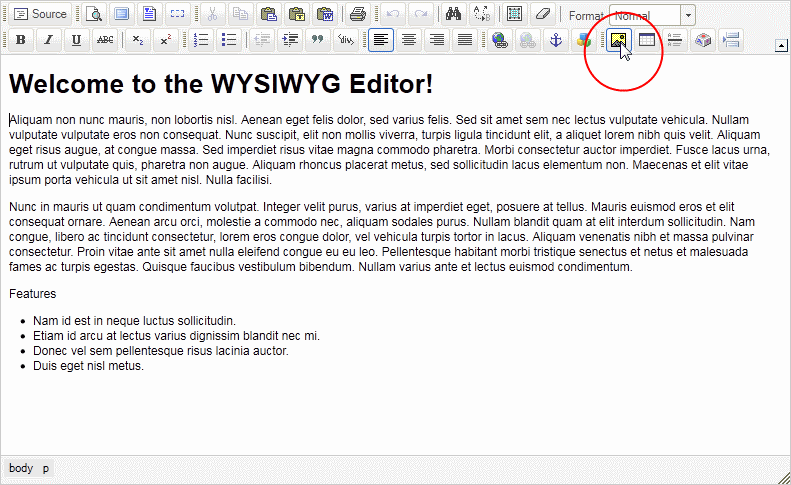
Now click on the Insert/Edit Image button.
-
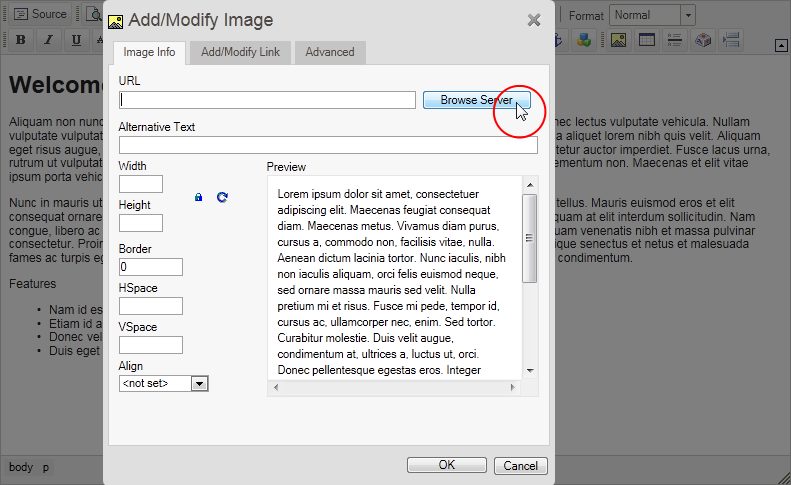
The Add/Modify Image dialogue will appear, click on "Browse Server".
-
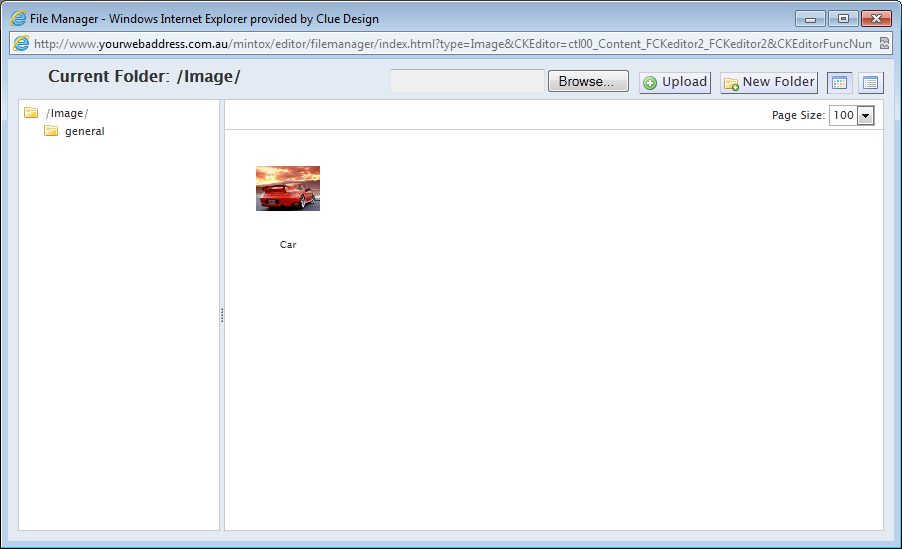
The File Manager window will open:
-
If the image you want to use is on the server you can browse the files until you find the image you want and then click on it.
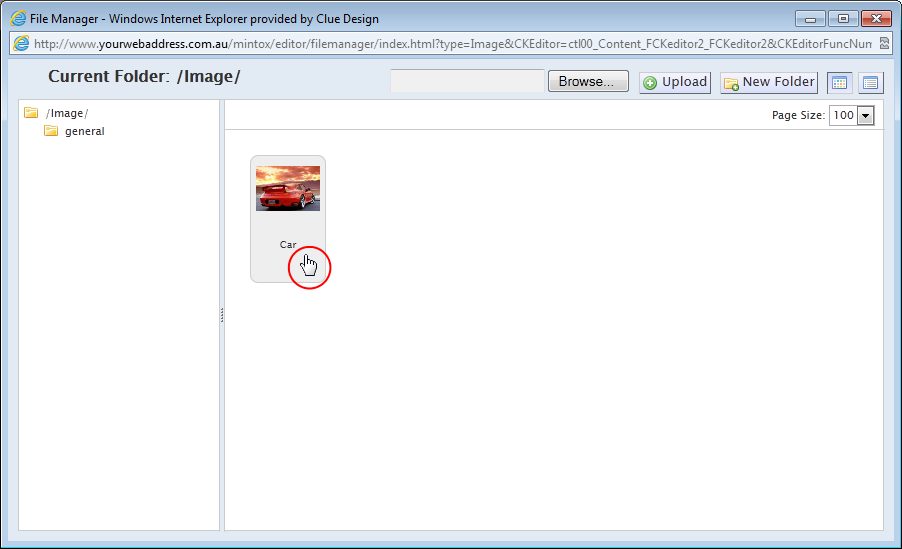
If the image you want to use is on your computer then you can click on "Browse..." to locate the image on your computer and then select it and click on "Open". Then click on the "Upload" button next to "Browse...". This will upload the image onto the server into the folder that you're currently viewing and you can select that image once it finishes uploading.
-
You will taken back to the previous window after selecting an image and the image you chose will be displayed in the "Preview" box.
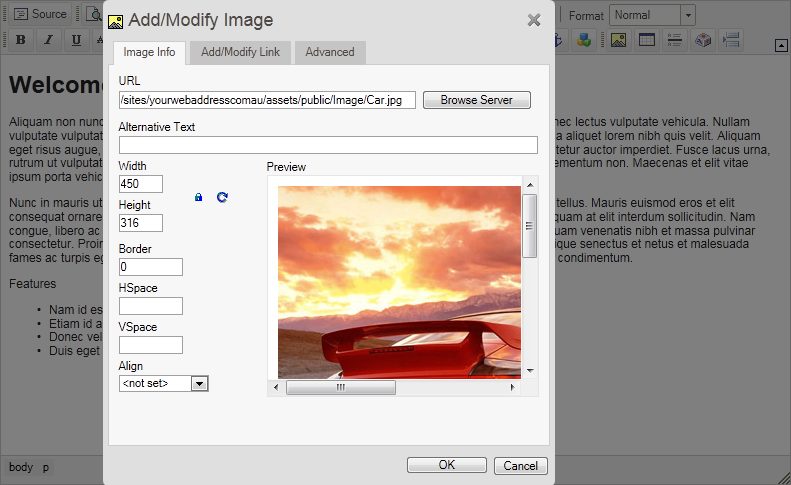
The following fields are available:
-
Alternative Text: Add text that will show when the user rolls over the image. This is good for search engine rankings.
-
Width: inputs automatically when you add the image.
-
Height: inputs automatically when you add the image
IMPORTANT: These fields should only be used for previewing the image and determining what size looks best. If you choose an image and you feel the height and width needs to be adjusted you must edit the image in an image editing application then re-upload the image. Do not adjust the "Width" and "Height" fields in Mintox for permanent image resizing purposes. This will result in images loading slowly and will effect the overall website performance.
- Border: Always set to “0”
- HSpace: Please ignore this field. Newer browsers ignore these settings, and therefore are no longer used.
-
VSpace: Please ignore this field. Newer browsers ignore these settings, and therefore are no longer used.
-
Align: Select left or right if you want text to wrap around the image.
- Preview: Shows the image laid out page surrounded by sample text, mainly for previewing smaller images.
-
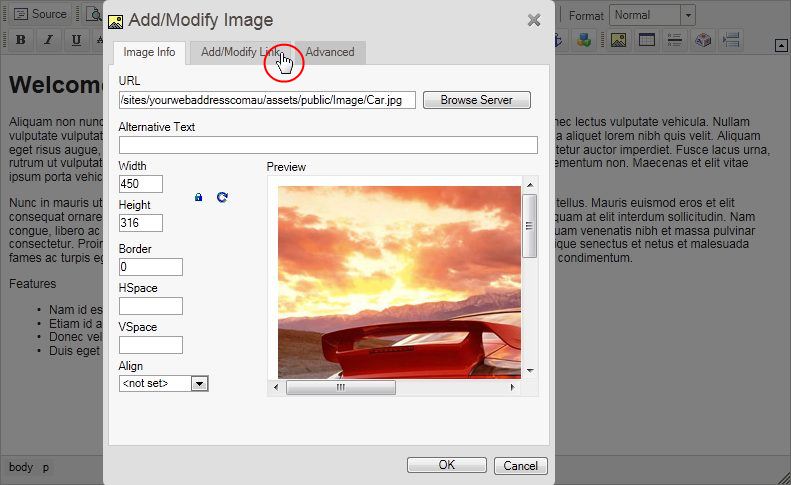
If you want the image to be a link to another page, then you can go to the "Add/Modify" tab at the top of the window.
-
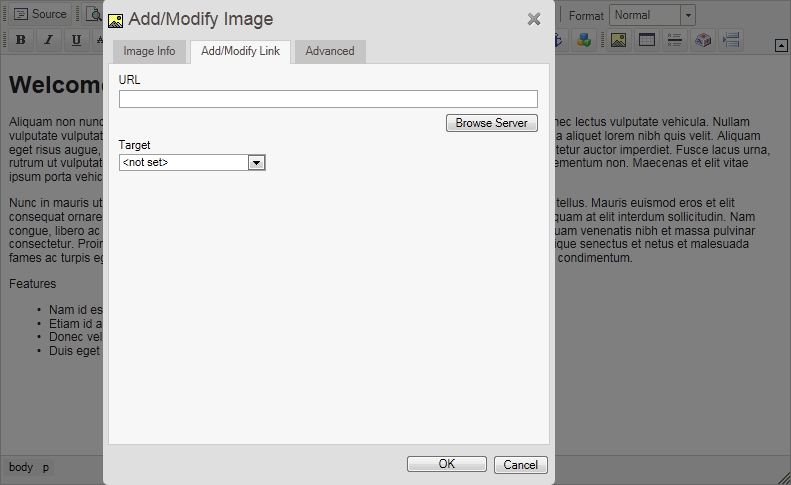
On this page you can link to another page or to a document or file:
-
Linking to Another Page
In the "URL" input box type in the URL of the website that you want the image to link to. If this link is going to someone else's website, then under "Target" select "New Window". Click on "OK" to finished inserting the image.
-
Document or File
Click on the "Browse Server" button to open the File Manager where you can see all of the files, documents and images currently stored on the server. Find and select the file or document you'd like to link to and the URL for that file will automatically be inserted into the "URL" field. Click on "OK" to finished inserting the image.
-
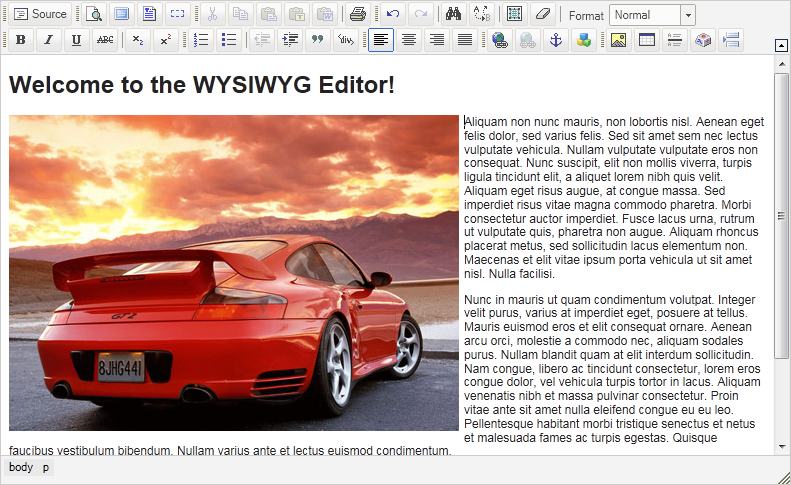
This will return me to the WYSIWYG editor page, and the image that was chosen will be displayed there.
-
You can repeat this process as many times as is necessary.