Objective
Add or edit a page using the Web Pages component in Mintox.
Steps
- Log into Mintox and access the Web Pages component.

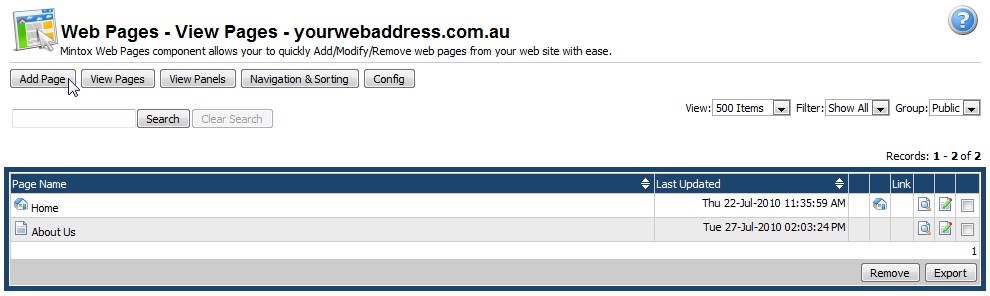
- This will bring up a list of all the current pages on the site. To add a new page click the "Add Page" button, or click an existing page to edit it.
- This will take you to the Add/Edit Page Details page where you can add all your page details:

Now you need to fill out the following details (any field with a * is required):
- Set as Void (See Also: Set as Void)
When a page is added normally it is placed onto the menu and you can click on it to view the page. If you check this box the page will still appear on the menu but when you click on it nothing will happen. This is often used when the page has many child-pages but there is no content for the page itself.
- Set as Link (See Also: Set as Link)
When a page is added normally it is placed onto the menu and you can click on it to view the page. If you check this box the page will still appear on the menu but when you click on it you will be taken to the URL that you enter into the "Link" field instead of seeing the page content. This is often used when the page has many child-pages but there is no content for the page itself, it can be used to link the page to one of its child-pages.
- Menu Name *
This is the name of the page as it will be shown on the menu and it is also used in URL for this page.
- Page Title
The "Title" text appears at the top of your internet browser. For example, the title of the page when you are adding a page in Mintox is "Mintox - Adaptive e-Business Software".
- Page Content *
When adding your page content you will need to use a WYSIWYG editor which will allow you to insert text, images, links, tables and custom HTML code too (See Also: What is a WYSIWYG Editor?).
- Meta Keywords
A meta keywords tag is supposed to be a brief and concise list of the most important themes of your page. Pick the 6 or 10 terms that most accurately describe the content of the page. If you can't narrow your keyword list down to 6 or 10 keywords, then the content on your page may be to broad.
- Meta Description
Similar to the Meta Keywords the meta description tag is intended to be a brief and concise summary of your page's content. When you write a meta description tag, you should limit it to 170 characters or 200 characters at most.
- Set as Draft
If you check this option then the page will not be visible or accessible on your website. If you have created a draft page and you want it to appear on your website you need to edit the page and uncheck the "Set as Draft" option.
- XML Datafile
When you have access to the Flash Banner component you will see this field. It allows you to choose a Flash Banner that you have setup and include it on the page. After selecting the Flash Banner file, choose the images from that banner that you would like to display.
- After entering the page information you need to set where on the website this page will appear, we use the "Page Display Settings" section to do this.

You'll need to specify the following fields:
- Member Group *
Select the member groups who should have access to this page.
- Set Page Location *
This is where you set the location of the page within the existing page structure for the chosen members or public group. The page you are editing will be placed beneath the page you select as a child-page, or you can choose "Top Level" to place this page on the top level of the site structure.
- Page Status
If this is set to "Online" then the page will be visible on the website menu, if it is set to "Hidden" it will not be visible on the website menu.
-
After entering all the required information click on "Save" and the page will be saved.
