If you are adding a Product to, or editing a Product in Mintox > Products, you can easily add one or more images to it and adjust the Alt tags and other settings too.
1) When adding or editing a Product, go to the Images tab.
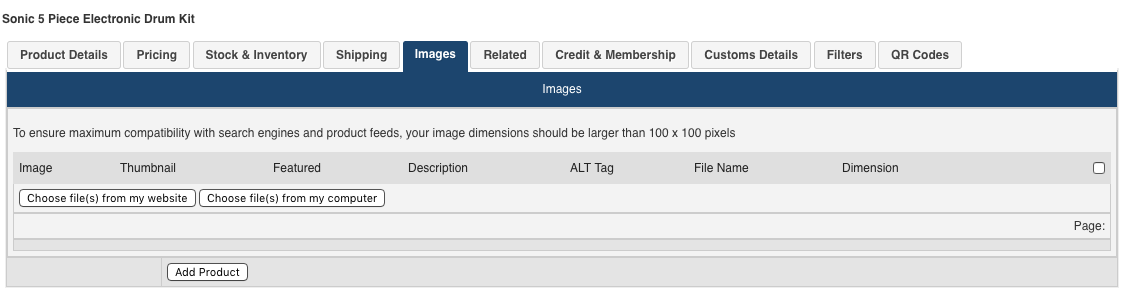
2) Upload your product image(s)
You have two options:
or
3) Review image(s) and additional options
Once you have uploaded the images, each will have a row in the Images tab so that you can see a thumbnail version and edit additional details.
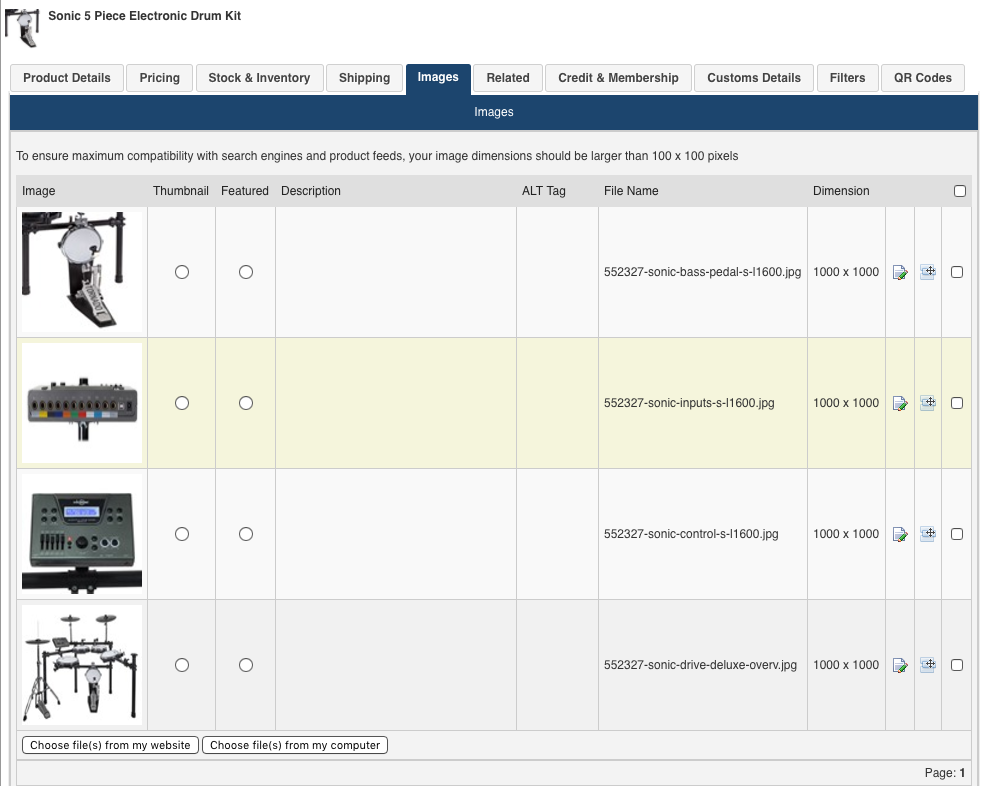
| Thumbnail |
Select this radio box to choose which image should be used as the 'thumbnail' image.
Where a product is in a listing, the thumbnail image is used. |
| Featured |
Select this radio box to choose which image should be used as the 'thumbnail' image when the product appears in the 'Featured Products' placeholder.
Only relevant if a) You're using a Featured Products placeholder, and b) You mark this product 'Featured' (in the Product Details tab). |
| Description |
This only appears on the frontend of your website if you have discussed with your Web Designer/Developer to have it appear.
You could use this like a Caption field for the image. E.g. "Sonic Electronic Drumkit - Bass Pedal" to help users understand exactly what the image shows. |
| ALT Tag |
The alternative text field for an image helps identify what the image is to search engines, and also to people using screen readers (which are particularly useful for sight-impaired people) |
 |
Edit button. |
 |
Rearrange button: Click and hold, then drag the product up or down to rearrange the order the images appear in. |
 |
Tickbox. If you'd like to remove one or more images from the product, tick the relevant box(es) then click the 'Remove' button at the bottom. |
Once you're done, click to Add Product (or Save, if you're editing an existing one) and check front end for results.
Appendix: Additional Detailed Steps
The upload options in more detail:
Method 1: "Choose file(s) from my website"
This is great for when you're working on a product and you know you've previously uploaded images you'd like to use. - This option will take you to your website's file manager so you can browse for your image there. You can also upload files there (from your computer) if what you need isn't there.
Once done continue to Step 3, review and Save.
Method 2: "Choose file(s) from my computer"
If this is a new product, chances are the images are new to your site too and you'll want to upload them from your computer (or a disk connected to your machine).
- Click the button "Choose file(s) from my computer" and a pop up window will appear.
- If you have a folder open on your machine containing the images you want to add, just highlight/select them and drag and drop them into this pop up window. They'll then be listed in the queue.
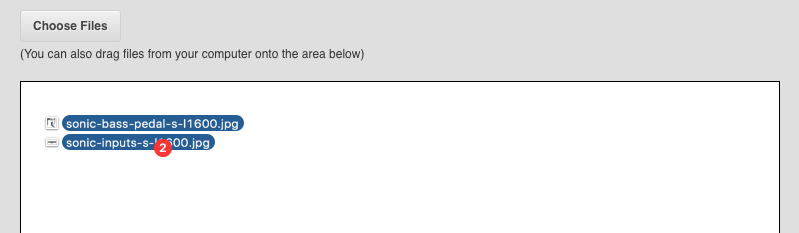
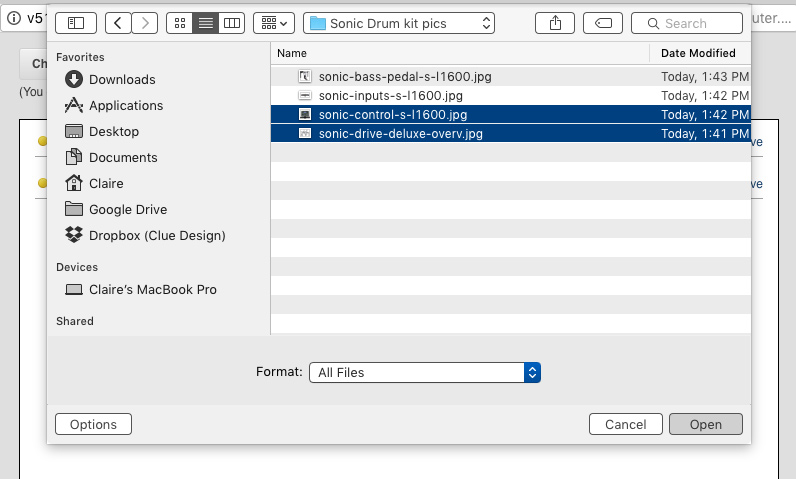
- If you'd prefer to navigate to find your image(s), click the "Choose Files" button at the top.
A window appears so you can browse your computer's folders.
Select one or more images to upload and click "Open".
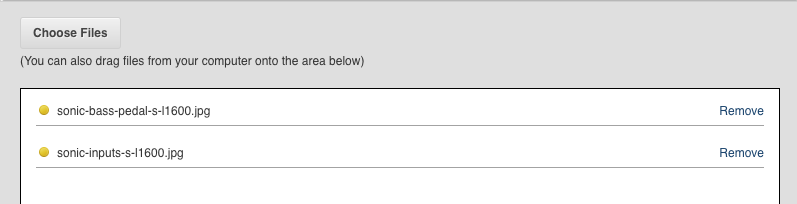
- Now if you've queued/selected all the images you'd like to add - for now at least - click the Upload button.
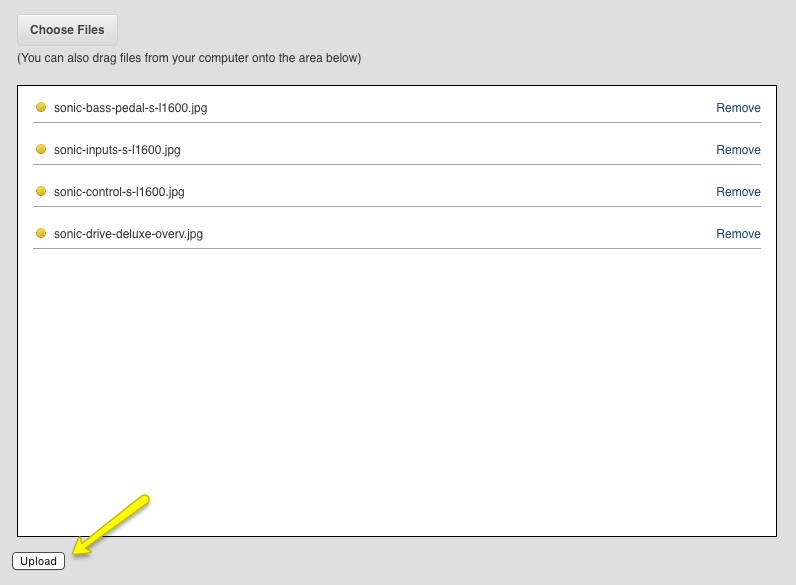
- Your images will be uploaded ready for you to organise further (if required) then save your product changes! (Full details in Step 3 above.)